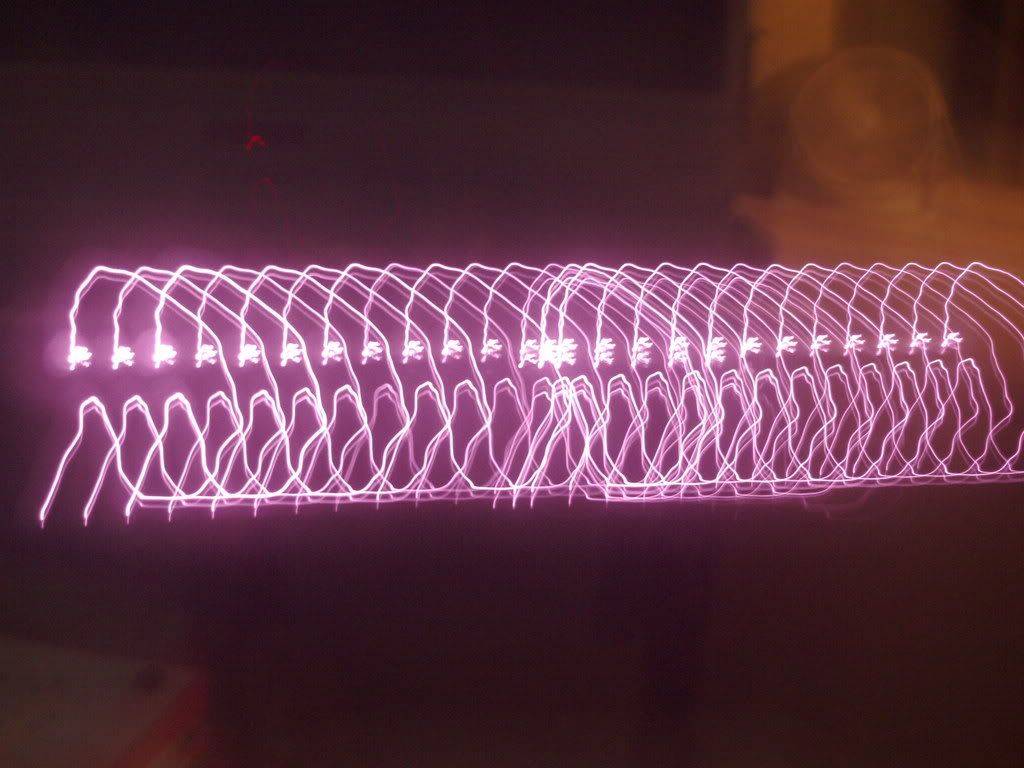
After upgrading my video card and doing a ton of calibration, I have finally gotten the Touch Table running in a stable manner. Ellen helped me film a video of the table in action last night, and I edited the footage down to about 7 minutes. Feel free to fast forward if you get bored. I still have more work to do to it, including a final paint job and applying my NUI decal to it!
You may notice the ghosting double image on the screen at times and the small shadow in the corner of the screen. Those are problems that I'm currently working on. I got a front surface mirror in attempt to get rid of the ghost image to no avail---it did seem to help the blob clarity. The shadow is from the position of the web camera inside the table. The reason I had to put the camera where it is: I was getting a very bad infrared "hot spot" in the middle of the screen from every other position that I placed the camera. (currently not sure how to fix this problem)
For more info and past pictures/videos - just click on the archive links to the right --->
Wednesday, August 20, 2008
Tuesday, July 1, 2008
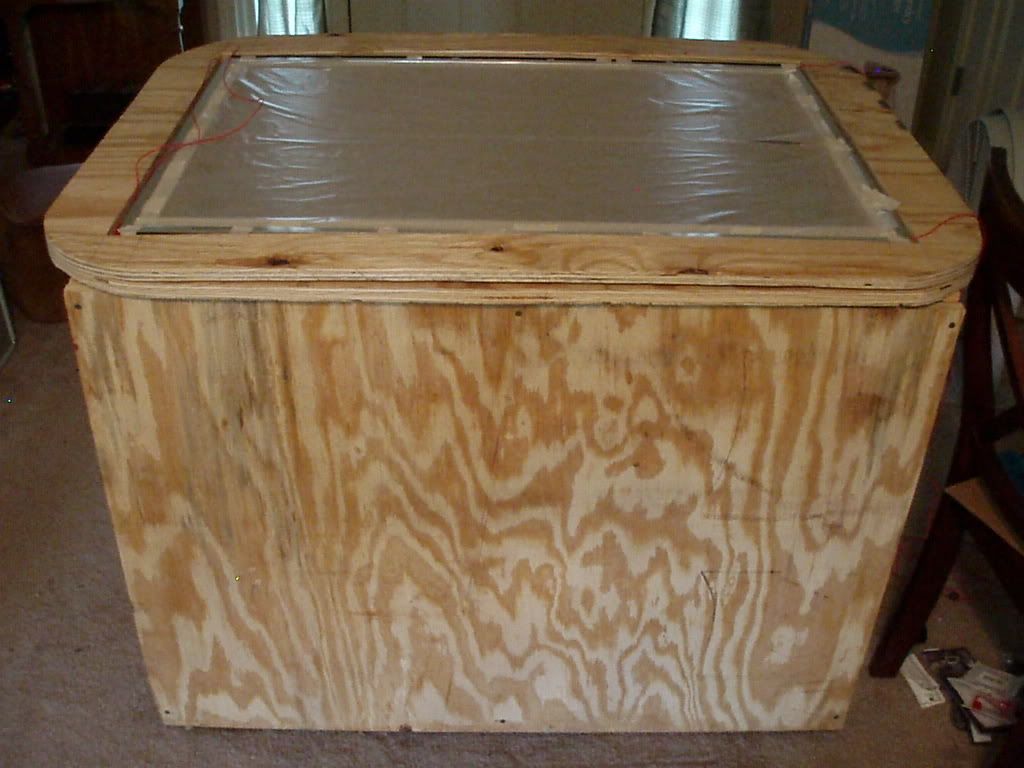
Prototype Table Almost Completed!
Well, it's been a while since my last post. I've been very busy working on this table, and it's about 75% finished! I just need to mount the switches, fans, audio amp, and make final adjustments with the projector and camera mounting. Then I need to throw some side panels on it (with 8" speakers mounted). Also I need to put some tracing paper between my silicone compliant surface and my rosco projection material so the blobs will be more accurate. I also need to cover the acrylic frame and LED's with something. I will be posting a video of the table in action as soon as I can get a chance to make one and after I do more calibrating of the system.


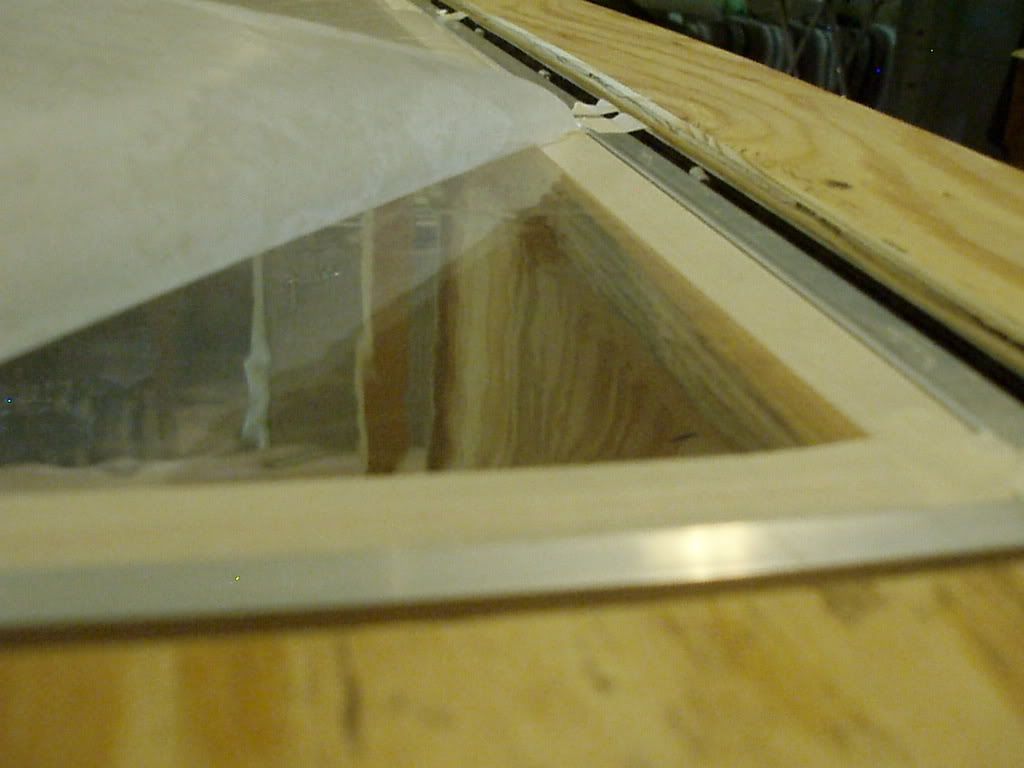
The 2 main snags that I have hit so far are the projector display size and the compliant surface. First when doing the compliant surface I decided to try the Cheap method of thinning silicone caulk with Toluol. Not only was it messy and it didn't work, but It also led to cracking along the edges of the acrylic! Apparently as it cures it shrinks and can cause the glass to crack. Not only that but since I flame polished the edges of my acrylic for the led's to shine into it better, the toluol had a bad reaction causing the cracks along the edges. Not sure if it was the silicone shrinking or the toluol reaction with flame polished edges that made the cracks...possibly a combination of both. I also scratched my acrylic while I was trying to level off the silicone with a giant putty blade (possibly the dumbest thing I've ever done). Eventually I got some Sorta Clear 40a to and poured it onto the acrylic. I should have done that from the beginning.
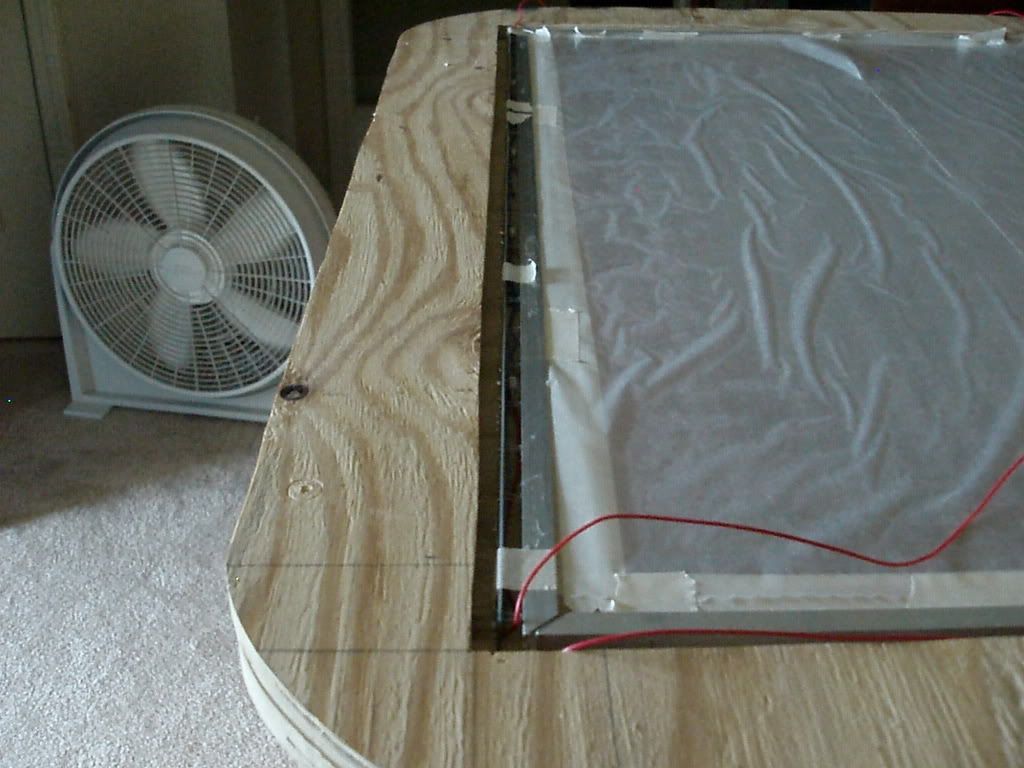
 The snag with the projector is that my table is basically slightly too short for the projector's minimum throw distance to fill my 44" screen completely. In other words the projector requires a little more distance from the screen to make it fill the screen (even though I'm using a mirror, the projector is not quite far enough away from my screen). One other snag is that I built the top of the table first (to hold the acrylic). I decided to round off the corners. I forgot to redo my measurements after that (before building the table). So the top is just a hair too small for the table, but it still works fine - just doesn't look good. Oh well, learning is half the fun!

 After much thinking and experimenting I finally made a projector mount that works great. I used plywood and some extra hardware I had laying around.
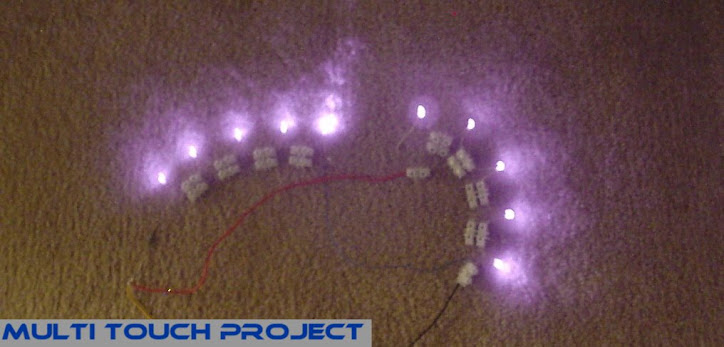
 For wiring the LED's I found some led PCB strips that worked out perfectly. I got them from this ebay store. I wired them with a 47ohm 1 watt resistor for each set of 5 led's. I used this led wizard to show me how to wire it all.

The 2 main snags that I have hit so far are the projector display size and the compliant surface. First when doing the compliant surface I decided to try the Cheap method of thinning silicone caulk with Toluol. Not only was it messy and it didn't work, but It also led to cracking along the edges of the acrylic! Apparently as it cures it shrinks and can cause the glass to crack. Not only that but since I flame polished the edges of my acrylic for the led's to shine into it better, the toluol had a bad reaction causing the cracks along the edges. Not sure if it was the silicone shrinking or the toluol reaction with flame polished edges that made the cracks...possibly a combination of both. I also scratched my acrylic while I was trying to level off the silicone with a giant putty blade (possibly the dumbest thing I've ever done). Eventually I got some Sorta Clear 40a to and poured it onto the acrylic. I should have done that from the beginning.
The snag with the projector is that my table is basically slightly too short for the projector's minimum throw distance to fill my 44" screen completely. In other words the projector requires a little more distance from the screen to make it fill the screen (even though I'm using a mirror, the projector is not quite far enough away from my screen). One other snag is that I built the top of the table first (to hold the acrylic). I decided to round off the corners. I forgot to redo my measurements after that (before building the table). So the top is just a hair too small for the table, but it still works fine - just doesn't look good. Oh well, learning is half the fun!After much thinking and experimenting I finally made a projector mount that works great. I used plywood and some extra hardware I had laying around.For wiring the LED's I found some led PCB strips that worked out perfectly. I got them from this ebay store. I wired them with a 47ohm 1 watt resistor for each set of 5 led's. I used this led wizard to show me how to wire it all.
Monday, March 24, 2008
Chapter I - the cardboard touch box
After several months of researching the technology and gathering parts, I have finally made a small prototype FTIR multitouch box, so I decided to go ahead and start a blog to document the project! Although it's not that pretty, it's actually useful for me to learn the software with. It works quite well for a cardboard box with 10 LED's and a picture frame taped to it!
Of course my ultimate goal is to have a full size touch table with a 24" x 36" display, and I'll continue to update this blog as I progress. If all goes well, I would like to learn how to make applications to use with the table. At this point I need to make an aluminum frame for my acrylic (and pour a layer of rubber on the acrylic). I also need to construct a table to mount the acrylic to, and I need to get a projector.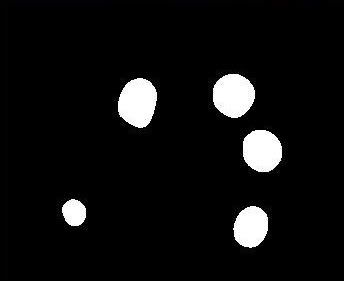 The best place to find information about making and operating multitouch displays is the one and only nuigroup.com The forum is excellent and includes people from all over the globe.
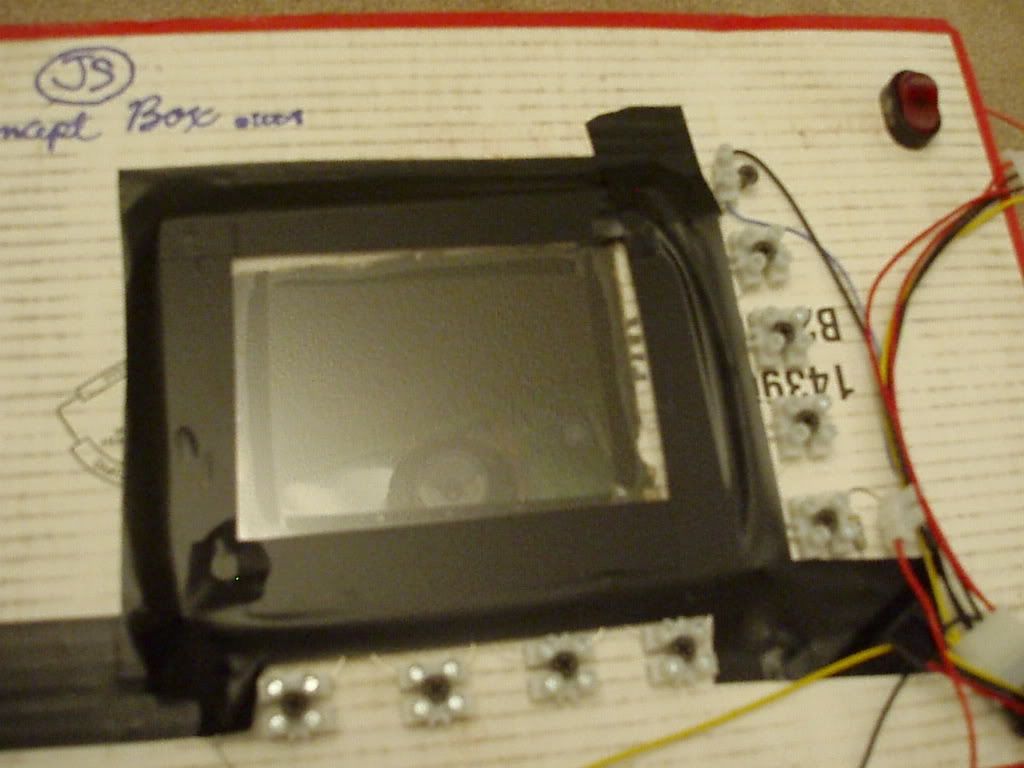
I have basically just been combining knowledge from different tutorials that I found at nuigroup.com and at blogs from some of the forum members over there (mainly Seth, Harry, and BlaXwan). 
Parts:
1. 50 Infrared LED's - Osrams SFH-4350 - I got these b/c DigiKey was out of SFH485, which is just a 5mm version of the 4350 (around $45)
2. Terminal Connectors to connect the LED's to one another and to the power supply (RadioShack Catalog #: 274-678)
3. Computer Power Supply Unit - Antech 450w (got it from craigslist for $10)
4. Microsoft Lifecam VX-1000 - RadioShack ($30)
5. Cast acrylic from eBay - 24" x 36" with a 3/8" thickness ($60 with shipping)
6. Temporarily using a 5" x 3" acrylic picture frame with about 3mm thickness and factory polished edges
7. Resistors - 47 ohms 1 watt, Metal oxide 5%
8. SPST switch to turn Power Supply on and off - RadioShack Catalog #: 275-712
- Projector*
- Wood for table*
- Aluminum Rails for acrylic frame*
- Rosco grey projection screen material*
- Silicone caulk, Toluene, and other items to make compliant surface for Acrylic*
...More to Come...
*Items marked with asterisks have not been purchased yet.
Subscribe to:
Posts (Atom)
